
First, I pulled out all the seams from the sides of the shirts.


I made my pattern by tracing the outline of a Champion running skirt I had from Target. I placed the pattern over the shirt to get the maximum amount of fabric in the pattern so that I could minimize piecing to make it fit around me. I cut out front and back pieces using the same pattern with a little extra length in the back panel.


Because the shirt fabric isn't very stretchy, I cut strips of performance/moisture wicking spandex that I had left from another project to put between the front an back panels so it would have a little bit more give. The pieces ended up being triangle shaped when I sewed them in, but I used rectangle strips (about 2 inches wide) to start so that I would have enough fabric to fill in the needed space. I didn't take very good photos of this part because I messed up and had to redo it. I got too focused on fixing it and forgot to pull out my phone (sorry about that!). I placed the right sides together and used a zigzag stitch for the seams that was as small as I could make it (maybe 1/8 in).


After adding the yellow triangles to both sides, I placed the triangle shaped holes over the sleeves of the shirt to cut out the needed piece with the runDisney logo. I cut the triangle for the other side from the other sleeve. Unfortunately, you can't see the red on red very well in the photo.


I placed the right sides together and again did a zigzag stitch. I pinned and stitched one side and then pinned and stitched the other.
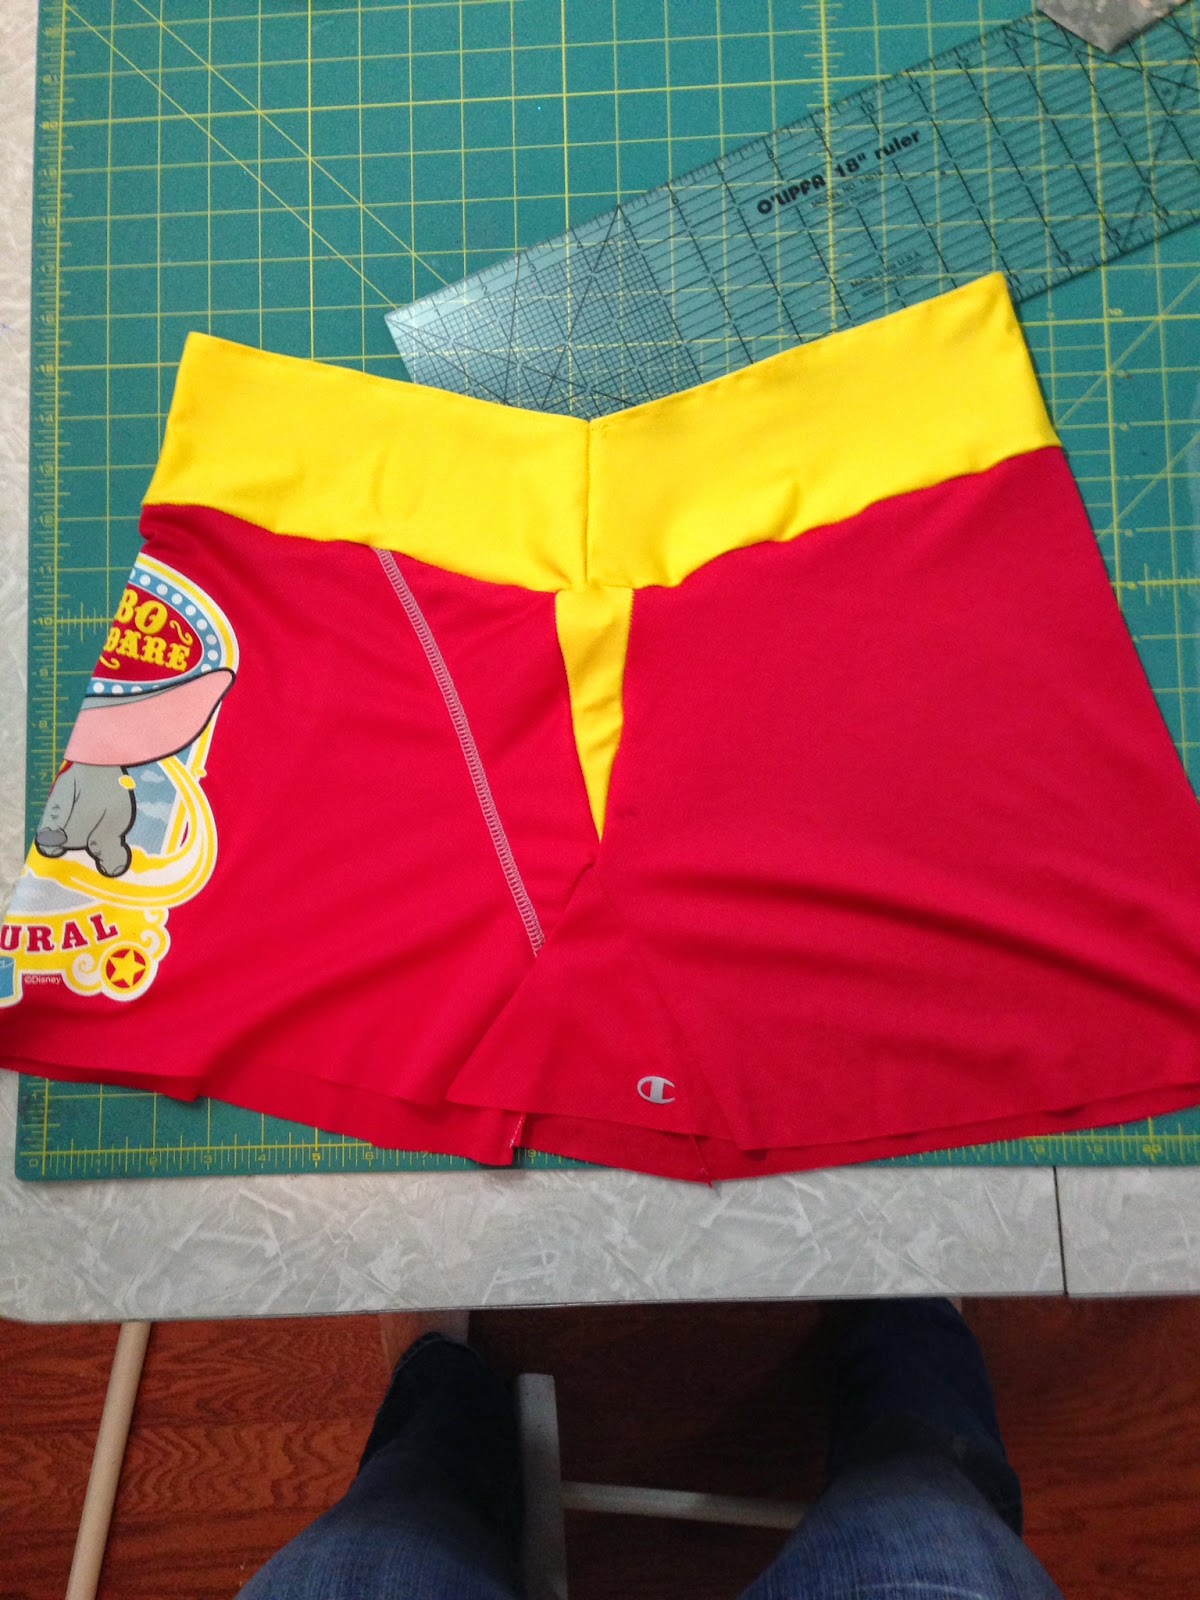
For the top band, I used the same yellow performance fabric cut in to strips (4 in x 20 in). The skirt was about 20 in at the top. I measured around my waist where I wanted it to hit. I cut the fabric on an angle so that the top was about 1.5 in smaller than my waist measurement (you might want it smaller to make the band tighter).


I hemmed the top of the yellow band and then attached the two pieces together using a zigzag stitch.
I turned the yellow band inside out and pinned it to the top of the red skirt so that the seam would be hidden. I stitched the yellow to the red with a zigzag stitch.


Finally, I hemmed the bottom with a narrow hem and straight stitch (I think a serger would make a better edge that matches the gray seams on the shirt, but I don't have one).
I also made one with the Disneyland Half Marathon shirt that I attached to a pair of running shorts. I didn't have a pair that I willing to permanently attach to this skirt. To attach it to running shorts, turn the skirt inside out and sew it to the seam at the bottom of the waist band of the running shorts using a zigzag stitch. I have a photo showing that attachment for the other skirt. I used a narrower band at the top since it was being added to the shorts.

